Repository (a.k.a Repos) is the core of source code storage. Today, I want to show you how to choose and to manage your source codes in Azure Repos.
The need of Repository
Repository helps you to store the codes and collaborates with the others. There are two types of modern repository. The first type is centralized, the second type is distributed. SVN (Source Code Versioning), TFVC (Team Foundation Version Control), and Subversion were the examples of centralized repository. The GitHub and Bitbucket are the examples of distributed repository. When choosing between centralized and distributed is a matter of the need and commonality. For example, GitHub was popular in open source community while the TFVC was commonly used for private or inhouse software development. Regardless with the repository model, we can use the Azure Repos for this kind purpose.
Beginner Guide
On this post, I will show you how to initialize, to operate, and to maintain the codes repository. We assume that you already has the Azure DevOps account ,
Step by Step Guide
- Activating the Public Projects
- Choosing the repository Model
- Initializing the repository
- Opening the repository in Visual Studio
#1 Activating the GIT support
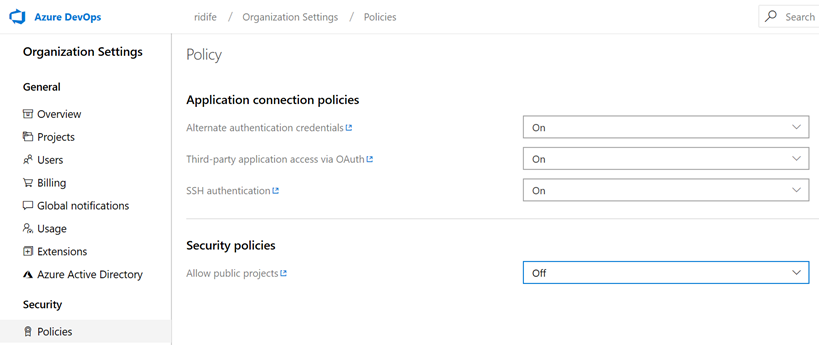
Visit the dev.azure.com, login with your account and we ready to do an action. By the default, Azure DevOps doesn't allow you to create public project. It means you can use Azure DevOps to share your open source project. This step will activate the public project for your source codes. Just visit the policies setting and set to On. You will have confirmation to activate the public project.
NOTE: never do this if you just want to share the project to the others member. This action will make your codes exposed to the public.
#2 Choosing the Repository Model
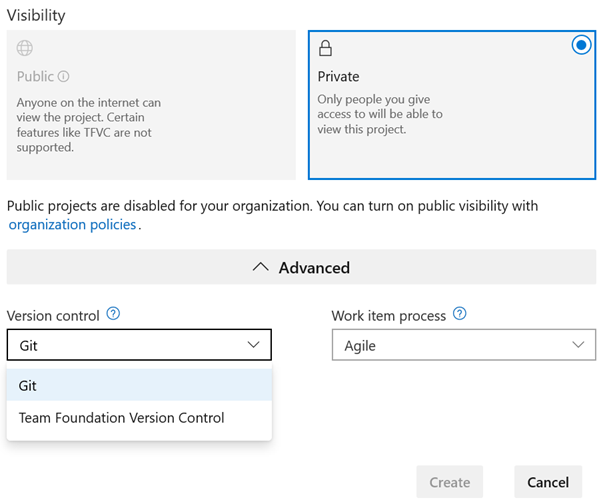
You can choose between GIT or TFVC. This action is not reversible. Once you already select the TFVC you can't convert to the GIT, vice versa. Choosing repository model can be done when you create a new project. Microsoft recommends the GIT. My recommendation is stick with your productivity by choosing the easiest one according yourself.
#3 Initializing the repository
There is no extra step to initialize the repository. On TFVC, you will see that you can download as zip and upload files. You can see the changes history in changesets. You can do selected pending based on Shelvesets

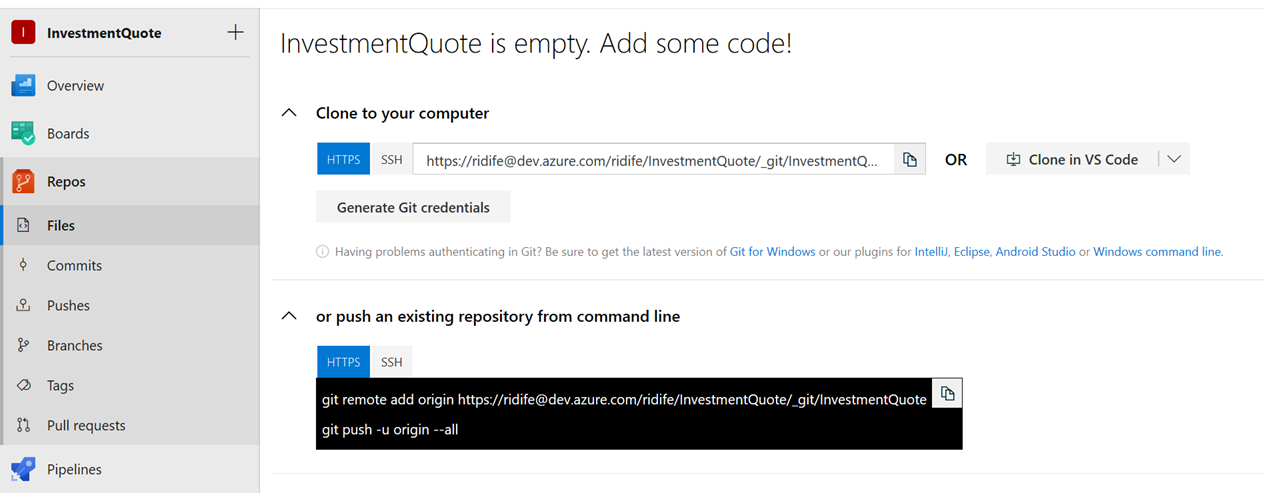
On GIT, you will see a lot of option. You will see commits log, pushes activity, branches that you have, tags identification and pull request. It is quite powerful and complex. I recommend you to visit https://azure.microsoft.com/en-us/services/devops/repos/
#4 Configuring the codes in Visual Studio
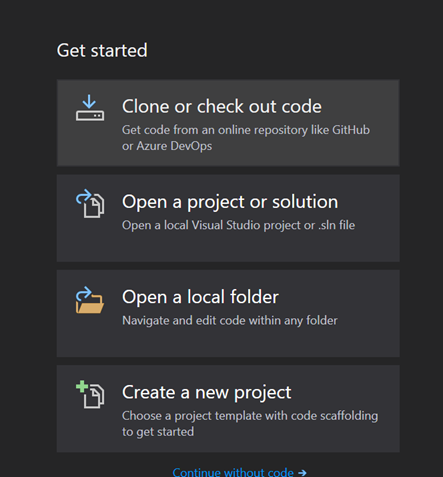
When you open the visual studio 2019. You can select the first option namely Clone or Check out code. After that you just need to enter the URL or browse repository. You can login first with the Azure DevOps Account.
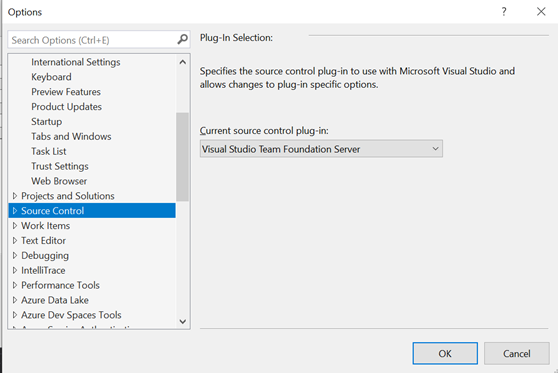
By default, your visual studio will configure itself as GIT provider. You can change the behavior in Tools – Option – Source Control. However, the default source control will be ignored if you open the existing project that already have source control. After that you can do commit, push, and many others action based on your selected repos.