Having your own process is good. However, not all Azure DevOps users know how to customize their Azure Boards to fit their DevOps Process. In this article, we want to discuss five steps to customize the Azure DevOps Process. Before you go you need to fulfil the requirements:
- You have active Azure DevOps at https://dev.azure.com
- You are the creator/administrator of the organization and are able to access the Organization Setting.
- You already adopt the Agile, Scrum, or other process.
#1 Create Inherit Process
On the menu, click the organization settings on the left below. Click the organization settings and click Process in the Boards Menu.
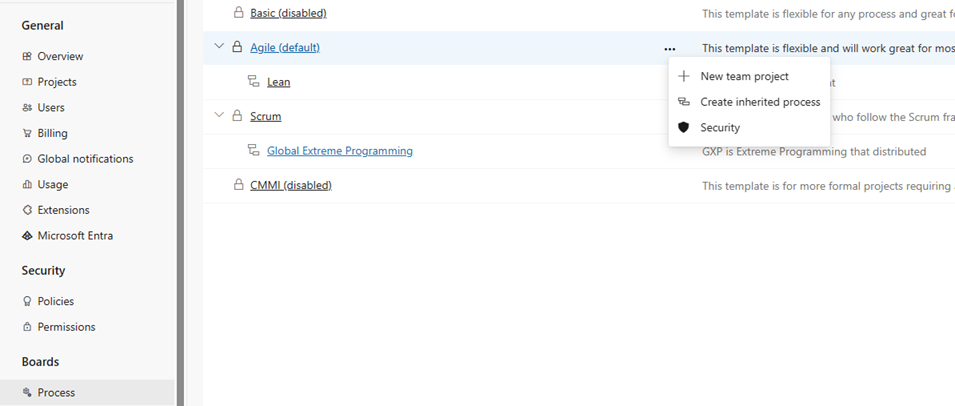
The "All Process" Dialog will show. Choose the correct process and click "Create inherited Process."
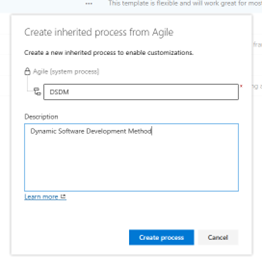
#2 Give the Name and Adopt the Terms
Creating an inherited Process means you will inherit all the Work item Types, Backlog Levels, and States.
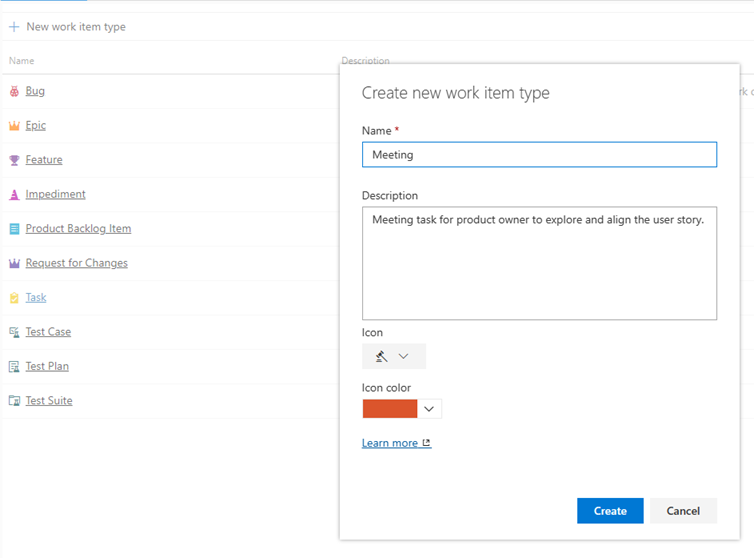
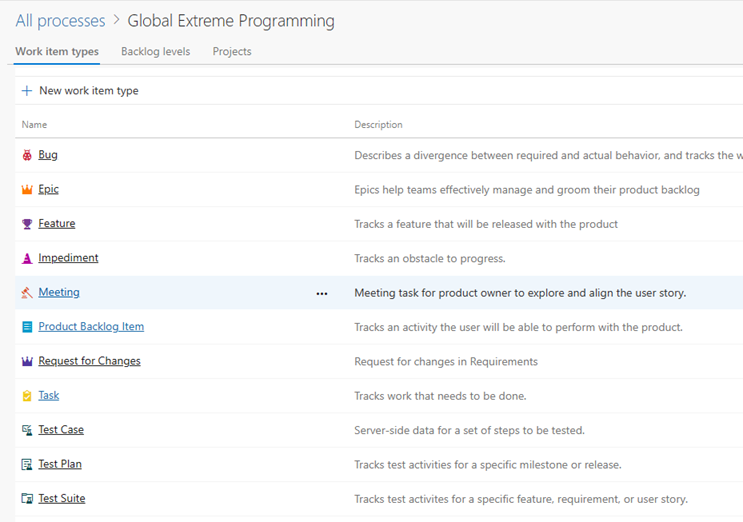
#3 Create the Work Item Types
Now, you can create the work item types. A work item is any activity that can be measured as an effort or activity to do something. On this example, we crate meeting work item that relates to any activity with the customer.
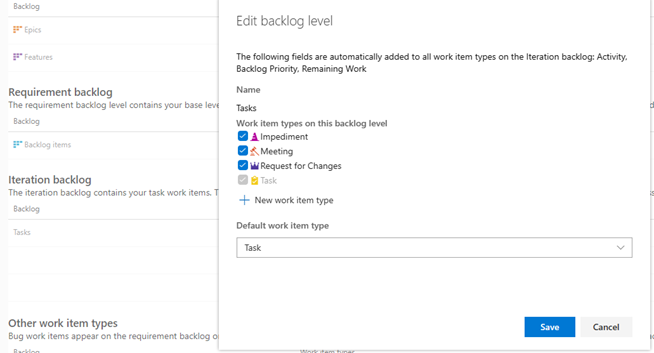
#4 Choosing the Right Backlog Levels
We want to align the new work item type into the backlog levels. This activity will ensure that the work item type will align quickly with the process. In this example, we can put the Meeting work item type into one of the backlogs. we will move the meeting work item type into Iteration Backlog. To do that, you can visit backlog levels, choose iteration backlog and click Edit.
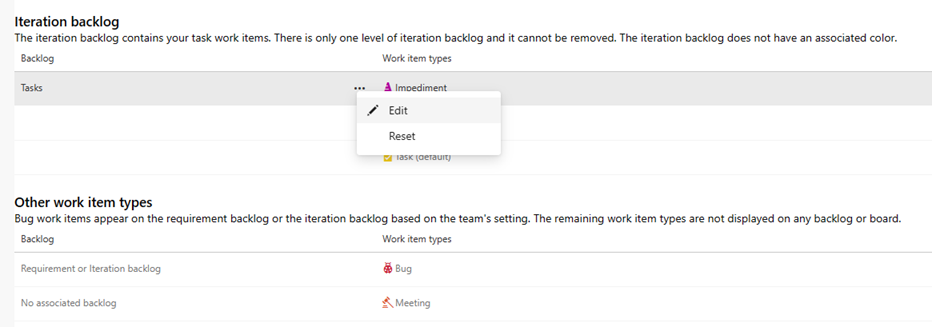
Check the Meeting icon and click Save. Furthermore, you can choose the Default Work Item Type before clicking the save Button.
#5 Modify the Work Item Type Content
Finally, you can configure and add additional content for your work items, such as meeting minutes or other attachments. To do that, you can visit the Work Item types menu and click the name, NOT the … three dots.
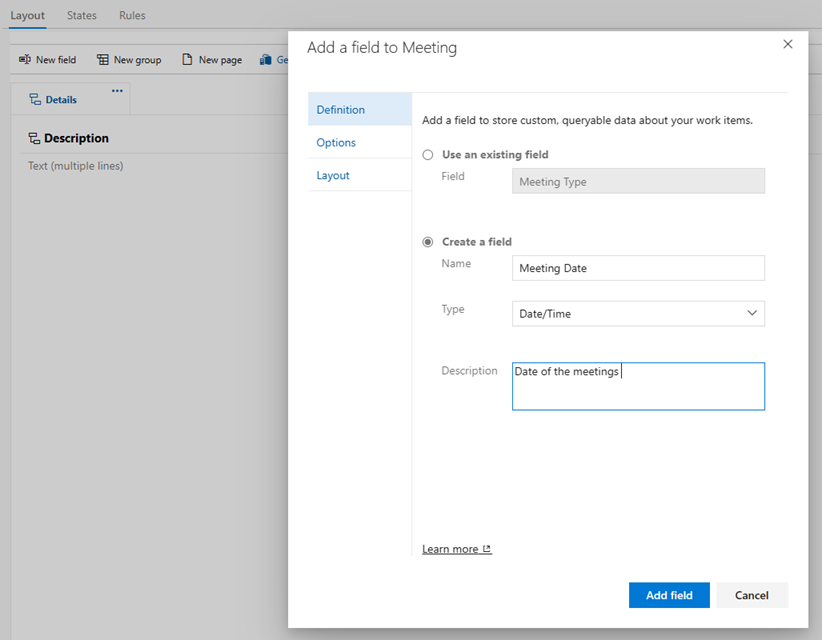
In this example, we want to add a Meeting Date; you can add a new Field. Please BE AWARE that the activity is not reversible. You can't reverse when you create a new field, and after that, you delete it. You can delete but the field is not deleted, only hidden and can't be reused.
You can also do layout when necessary. You can also change the States when necessary. By clicking the States tab and adding the new state. However, we will discuss it later in the next section.