Hi Folks, we continue with our journey in Azure DevOps. Today, we will discuss the Azure Test Plan. Testing is a big deal in the software development process. The quality of the software comes from quality Azure Test Plan. This article will cover beginner guide for Azure Test Plan. In order to make it simple, we will separate some of technical detail in another post. So lets get started.
Before we start
In order to do Azure test plan, you should have
- Up and Running Azure DevOps. This service is free of charge. You can register to http://dev.azure.com
- Kanban Board is ready. You should already setup your Azure Boards. You can see the beginner tutorial of Azure Board here
- If you want do a Load Test, having Azure Subscription is great, you can get in http://azure.com
Beginner Guide Scenario
On this guide, we will create a test plan, a test case. We will discuss load test in the next guide.
Step by Step Scenario
Create a test plan.
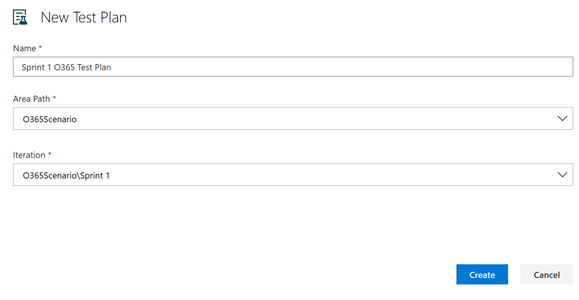
We will start creating a test plan. A test plan is a collection of a test case. It can be related with features or iteration. In this case, we will create a test plan based on iteration. We create a test plan in Sprint 1.
Create a test case
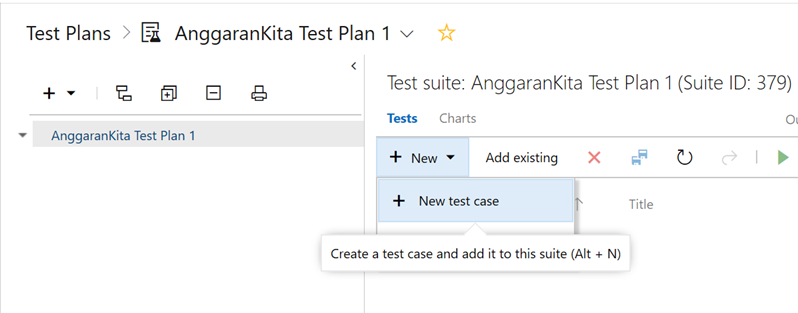
Test case is a set condition based on use case or user story to make sure the software satisfy the requirements. Test case is grouped into a test plan. In the test plan, we can create a test plan
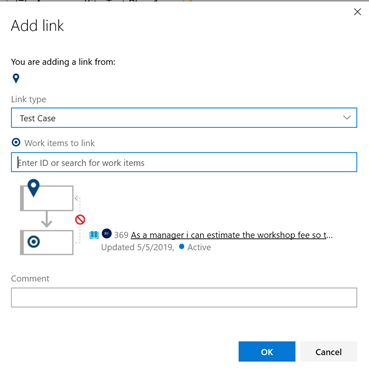
You should relate a test case into a use case or a user story. You can do that by add the link the user story as shown on the picture
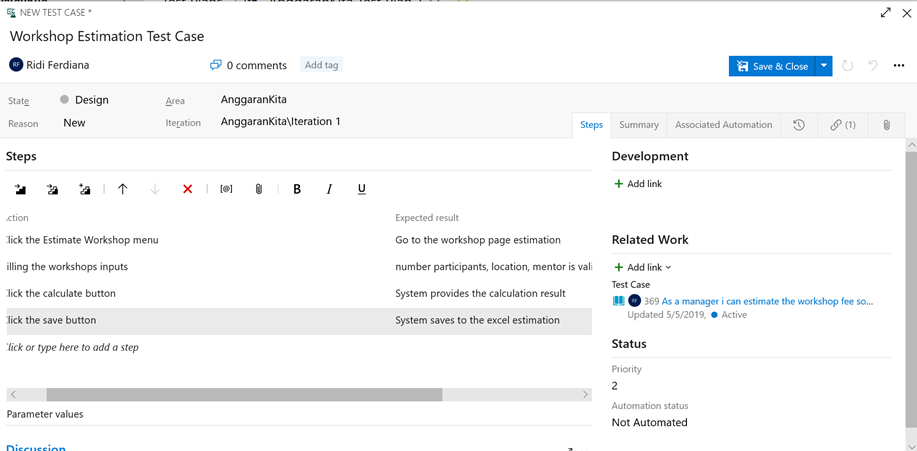
The most important things in a test case is step by step of the user action.
Run a test case
You can run a test case for web or desktop. Unfortunately, there is no option to run the test for mobile application

For this example, we click run for web application. Your browser will create a pop up. You can do use acceptance testing by opening the web and then click based on the scenario
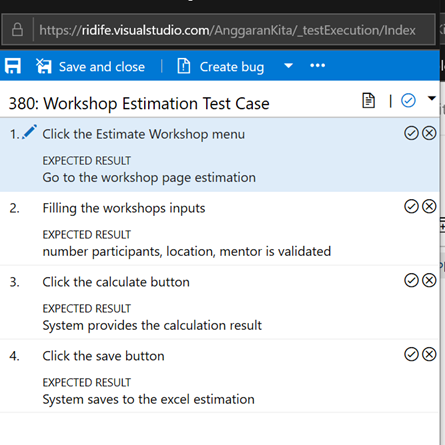
You can click the checklist button if test is passed. Otherwise, you can click the cross button if failed test step. On this example, we have failed test in step 4. In this step you can fill the comment section
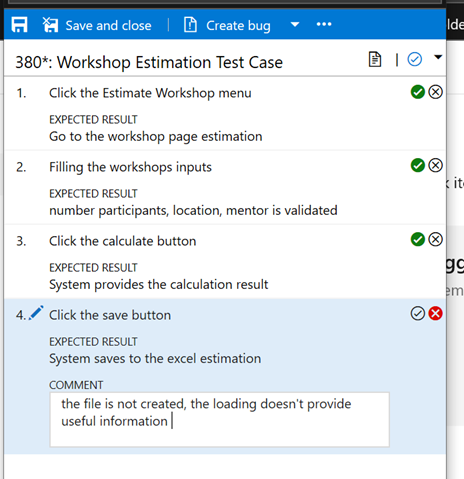
Beside comment you can put the attachment and create bug. On this example, lets create a bug. The repro step is created, we just need to add the bug name, put the severity, add the effort estimation.
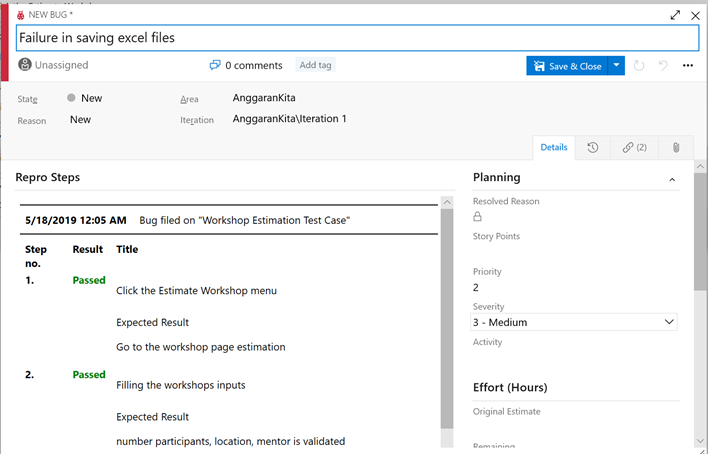
Managing the Bugs
The bugs will be stored in Azure Boards, and the test result will be on failure state. We can restart the test or edit test the case when necessary

Conclusion
On this step, we setup a test plan, create a test case, run a test, create a bug. In the next section will discuss automated testing. See you