So, if you want to create a DirectX game and want to install the XNA Framework as your Game Engine Framework, you will need an extra effort. Today I will show you how to install, configure, and run an XNA game into your Visual Studio. You can find a good article about it at http://flatredball.com/visual-studio-2019-xna-setup/. I will combine the guide with my own experience and screenshot.
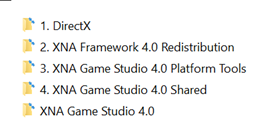
Follow the installation number

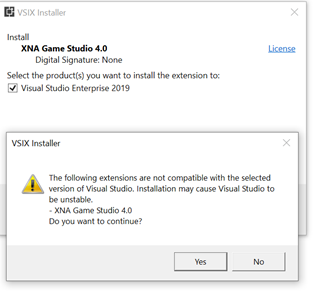
After install the last package (number 4), install the vsix file. VSIX is a template for your Visual Studio 2019. Although it is said not compatible, click Yes

I create a new folder in C:\Program Files (x86)\Microsoft Visual Studio\2019\Enterprise\MSBuild\Microsoft\XNA Game Studio.
Visit C:\Program Files (x86)\MSBuild\Microsoft\XNA Game Studio, and copy the entire content to the new folder C:\Program Files (x86)\Microsoft Visual Studio\2019\Enterprise\MSBuild\Microsoft\XNA Game Studio.

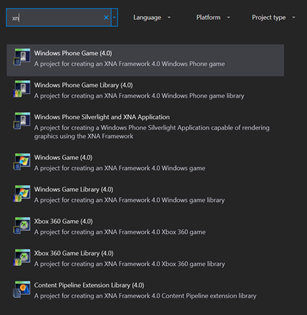
Open your Visual Studio 2019 and create a new project. Choose windows Game (4.0), by filtering the name into XNA

I recommend you to run, the .NET framework in version 4.0, when creating new project

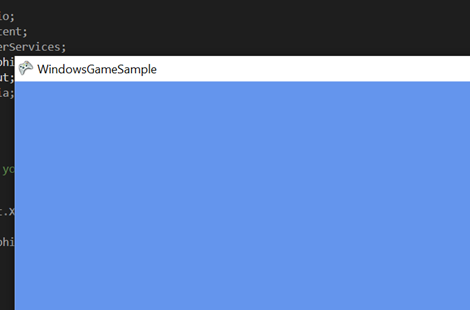
Build your project, if you find issues Your installation of XNA Game Studio does not support this project (XNA Platform = 'Windows', XNA Framework Version = 'v4.0'). Make Sure you copy-paste the file in the correct folder. Enjoy your XNA framework in Visual Studio 2019
