As a developer, sometimes we need to configure our environment before we create codes that use the capability of the existing platform. The same thing was done in Office 365, before using the Graph API for example. We need to do a set of configurations to ensure that the code we are going to build can already access the resources that are permitted through the configuration. This article will discuss generic steps on how to configure Microsoft Teams with Power Shell.
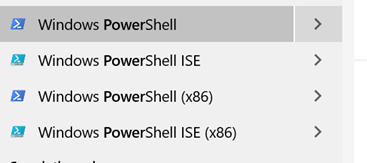
Step 1 – Run the PowerShell
Run a Power Shell in your Windows, you can run with your current user (recommended). I don't recommend you to run with Administrator since a lot of configuration is only works with current user privilege. Visit this page of you don't have PowerShell

Step 2 – Installation module
You can install module by using several model install-Module, Import-Module. On our case we have two module that we need to install. Microsoft Teams for managing interactivity and Skype for Business for managing the admin configuration.
Step 3 – Login with Admin Credential
Create a new session by creating New-CSOnlineSession. You will need to input your credential and Office 365 password.

Step 4 – Set Policy for Remote Signed
You need to activate the remote signed environment in order to change configuration remotely. You can do that by using Set-ExecutionPolicy and choose RemoteSigned.

Step 5 – Importing Session
You can start your configuration by joining a login session that you already made. You can do that by using Import-PSSession
Step 6 – It's time to Configure
Yes, we can configure the Teams right know. You can see a lot configuration on
Enjoy your day!