.NET 8 is launching, and Visual Studio 2022 is also updating into 17.8 version. One of the most promising features in Visual Studio 2022 is the better support for GitHub Copilot Chat that in General Availability (aka stable). You can read the release notes here Visual Studio 2022 Release Notes | Microsoft Learn. There are two ways to use GitHub Copilot. The first one is using GitHub Copilot and the second one is using GitHub Copilot Chat. On this article, we want to configure both ways.
Step 1 – Installing the Extension
Go to Extension, Manage Extensions, and search GitHub Copilot please install both software by restarting your Visual Studio

Step 2 – Buying License or Get Trial
You can sign up the trial or subscribe the Copilot right away.
Step 3 – Activate The GitHub Copilot Extension
- Open Visual Studio 2022 and go to Tools > Options > Text Editor > GitHub Copilot.
- Check the box that says, "Enable GitHub Copilot chat".
- Click OK to save the changes.
- Restart Visual Studio 2022 for the changes to take effect.
- Open any code file in Visual Studio 2022
Step 4 – Shows the GitHub Copilot Chat
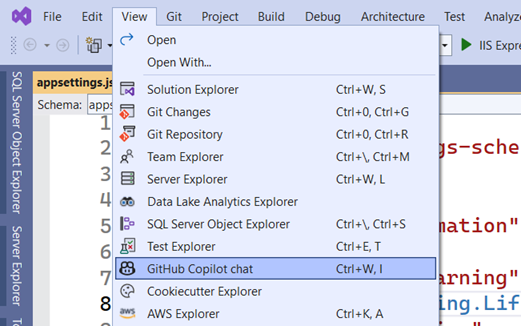
You can activate by opening View menu and look for the GitHub Copilot Chat (my shortcut is Ctrl+W,I)

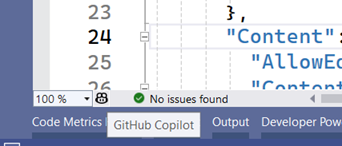
Otherwise, you can use GitHub Copilot by clicking this icon and Click Open Copilot (my shortcut is Ctrl+Alt+Enter)

Step 5 – Start Coding and Get Advising from Copilot
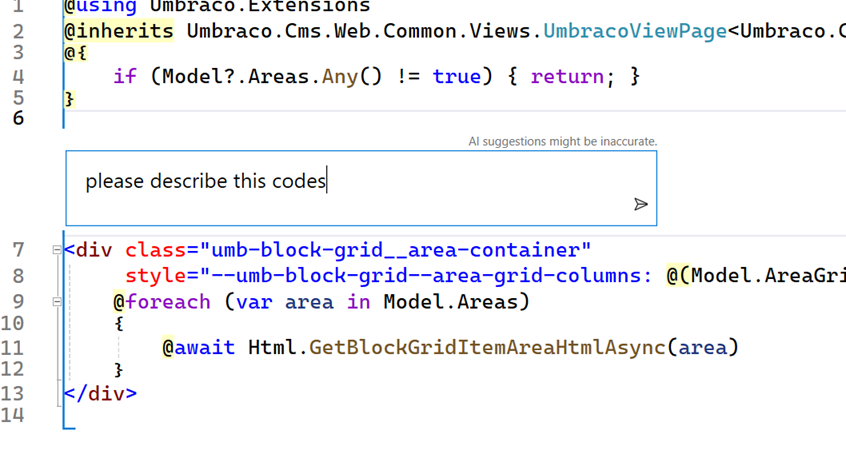
GitHub copilot can help you by using proactive and context chat for example in your code, types Alt + / it will display the context chatbot

You can
- Ask about the codes.
- Refactoring suggestions
- And creating the codes based on your prompt engineering.
That's it! You have successfully configured GitHub Copilot chat in Visual Studio 2022. Now you can enjoy coding with your AI pair programmer and learn from its feedback and guidance. Happy coding!