Although my favorite IDE is Visual Studio, sometimes I use Visual Studio Codes to create, to learn, and to run simple codes. On this article, we want to show you how to prepare, develop, and run the C++ codes on Visual Studio Codes. Let's get started.
#1 Installing the extension
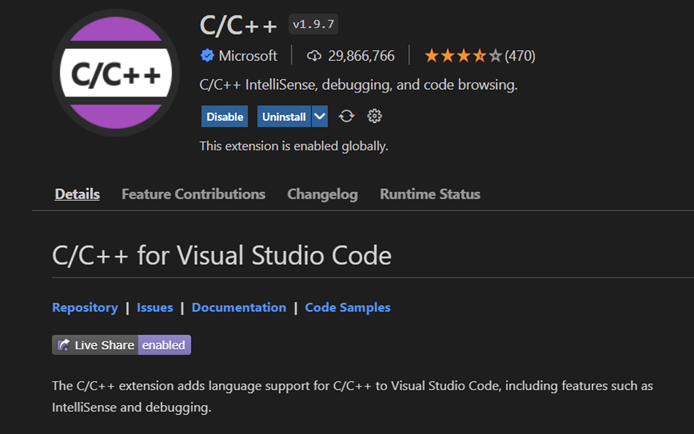
After you install the Visual Studio codes, you can start the extension installation. Go to the extensions (Ctrl+Shift+X) and search for "C++". You will get the C++ extension like in the picture.
#2 Installing the compiler
This is the reason why I love visual studio so much. In the Visual Studio you don't need to install anything for compiler because it's already having Microsoft C++. But on Visual Studio Codes, you must configure your own compiler. Install the GCC here MSYS2. I suggest you install in the default folder. You will have this command prompt type "Pacman -Syu". It means you already have the compiler.
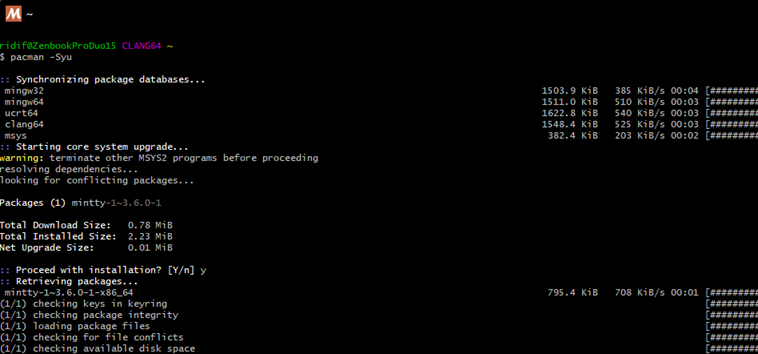
After the installer closed. Find MSYS in your start menu and types:
- Pacman -Su
- pacman -S --needed base-devel mingw-w64-x86_64-toolchain
#3 Add to Windows Path
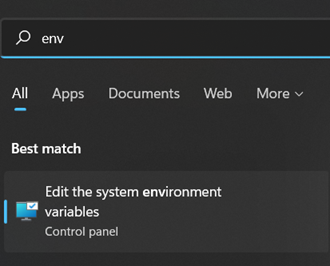
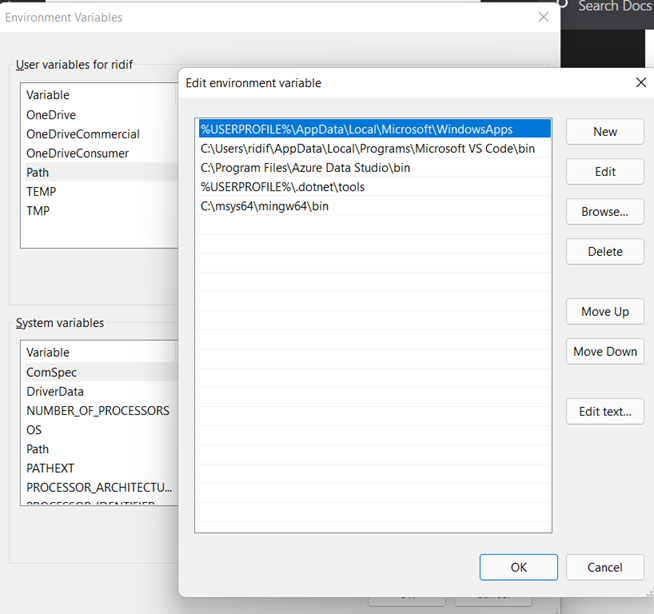
I am assuming you use Windows. Therefore, you need to add the compiler to the Windows PATH so that you can run it in your visual studio codes. Find "environment variables". Click the button, and edit the Path in User variables OR system variables. create new and insert
#4 Try the Compiler
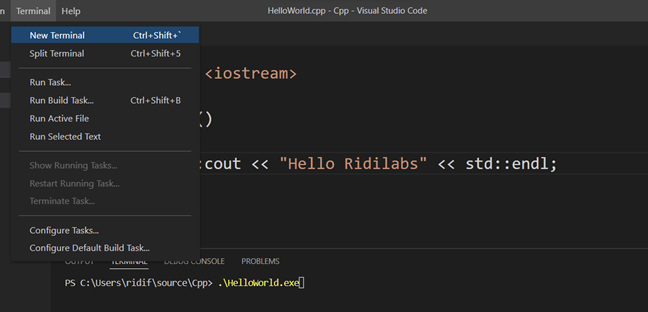
Create a folder for example "CPP" and after that create a file namely "HelloWorld.Cpp". After that find menu "Terminal" – Run Build Task (Ctrl+Shift+B). I use g++.exe, you can also use g++ the difference between of twos can be seen here . You will have the .exe file in your folder.
#include <iostream>
int main()
{
std::cout << "Hello Ridilabs" << std::endl;
}

#5 Run the Executable
Just create a new terminal and run the Exe like this picture. You can also start the debugging by clicking F5 and select GDB as shown in the picture

That's it enjoy!